A Distinctive Ring Pattern: The Allure of Bundt Cakes
If you’ve ever seen a cake with a distinctive ring pattern, chances are it was a Bundt cake. But what exactly is a Bundt, and what is its purpose? In this article, we explore the history, uses, and benefits of Bundt pans, and provide delicious recipes and creative ideas. Let’s dive in and uncover the secrets of this iconic baking tool.
History and Origin of Bundt Cakes
The Bundt cake, originating in the United States, gained popularity in the 1950s and 1960s. The term “Bundt” comes from the German word “bund,” meaning a gathering or group. H. David Dalquist, the founder of Nordic Ware, a Minnesota-based cookware company, invented the Bundt pan. Inspired by traditional European cake molds, Dalquist aimed to create a pan that would produce a uniquely shaped and designed cake. Discover why it’s called a Bundt cake and explore the nationality of Bundt cake for deeper insights.
advertisement
Understanding the Bundt Pan
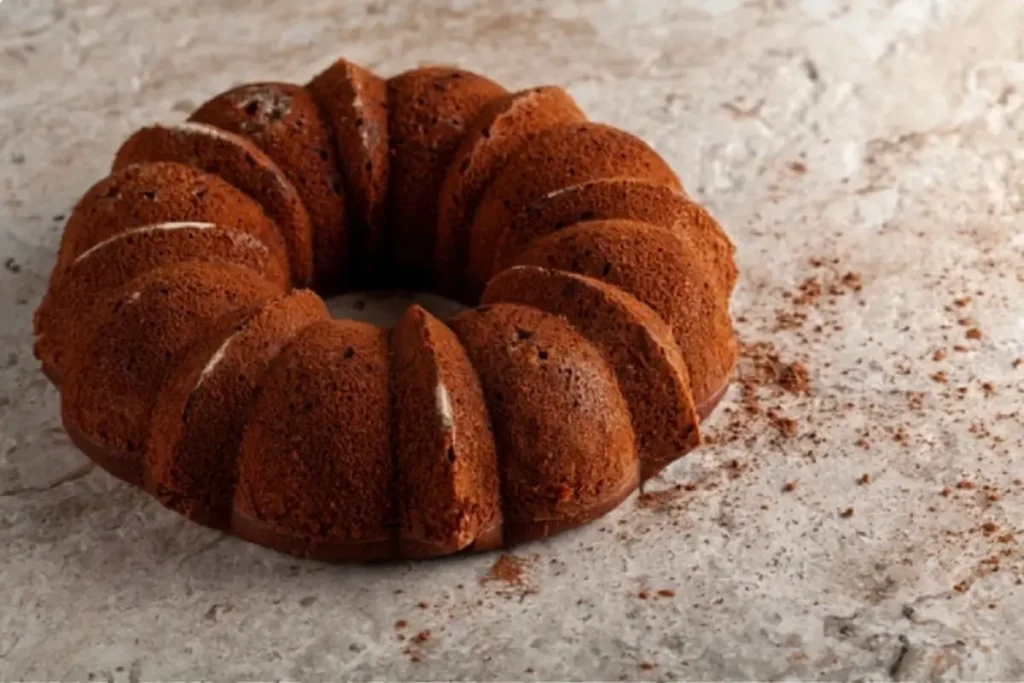
The distinctive shape of the Bundt pan, featuring a round tube in the center and fluted sides, ensures even heat distribution for a cake that bakes evenly with a moist and tender crumb. Some Bundt pans even feature intricate designs and patterns, adding an extra touch of elegance. Learn more about perfecting Bundt cakes in our detailed Bundt Cake Guide.
Baking Techniques with Bundt Pans
Achieving the best results with a Bundt pan requires proper preparation of the pan before adding the batter. Additionally, leaving room for the cake to rise and expand without overflowing is important when filling the Bundt pan with batter.
Benefits of Using a Bundt Pan

advertisement
The Bundt pan offers several baking advantages, such as even heat distribution and a unique and decorative shape. Discover why nothing Bundt cakes taste so good and explore the difference between Bundt cake and pound cake for more insights.
Popular Bundt Cake Recipes
Understanding the purpose and benefits of using a Bundt pan opens up a world of popular Bundt cake recipes. Whether you prefer a classic vanilla Bundt cake or something more adventurous, there’s a Bundt cake for every taste.
Creative Uses for Bundt Pans
Primarily associated with baking cakes, Bundt pans also lend themselves to creative and unexpected uses, such as making savory dishes or stunning jello molds.
Conclusion
The Bundt pan is more than just a baking tool; it’s a gateway to endless possibilities in the world of baking. So, embrace the elegance and charm of the Bundt cake and let your creativity soar. Happy baking!
Tips and Tricks for Baking Perfect Bundt Cakes

I. Introduction
In Part 1 of this article, we explored the history and uses of Bundt pans, as well as provided some delicious recipes and creative ideas. Now, in Part 2, we will delve deeper into the world of Bundt cake baking and share some expert tips and tricks to help you achieve perfect results every time. From preparing the pan to adding the finishing touches, we’ve got you covered. So, let’s get started and elevate your Bundt cake baking skills to new heights.
II. Preparing the Bundt Pan
Properly preparing the Bundt pan is crucial to ensure your cake bakes evenly and releases easily from the pan. Here are some tips to help you prepare the pan like a pro:
- Grease the Pan: Start by greasing the pan with butter or cooking spray. Make sure to coat every nook and cranny, including the fluted sides and center tube. This will create a non-stick surface and prevent the cake from sticking.
- Dust with Flour: After greasing the pan, dust it with flour. This step helps the cake batter adhere to the pan and provides an extra layer of non-stick protection. Tap out any excess flour to avoid a powdery residue on the finished cake.
- Use Baking Spray with Flour: If you want to simplify the process, you can use a baking spray that already contains flour. These sprays combine the greasing and flouring steps into one, saving you time and effort.
- Chill the Pan: For extra insurance against sticking, you can chill the greased and floured pan in the refrigerator for a few minutes before adding the batter. The cold temperature helps solidify the grease and flour, creating a more solid barrier between the pan and the cake.
Remember, taking the time to properly prepare the Bundt pan will greatly increase your chances of success and ensure a beautifully shaped cake.

III. Choosing the Right Batter
The type of batter you use can greatly affect the outcome of your Bundt cake. Here are some tips for choosing the right batter:
- Consider the Texture: Bundt cakes can be made with a variety of batters, ranging from dense and moist to light and fluffy. Consider the texture you want to achieve and choose a batter that aligns with your preferences. For example, a pound cake batter will result in a denser and richer cake, while a sponge cake batter will yield a lighter and airier cake.
- Adjust the Recipe: If you have a favorite cake recipe that you’d like to adapt for a Bundt pan, keep in mind that some adjustments may be necessary. Bundt cakes typically require a longer baking time than regular cakes due to their larger size and denser texture. You may also need to adjust the leavening agents and liquid ingredients to ensure the cake rises properly and has the right consistency.
- Experiment with Flavors: Don’t be afraid to get creative with flavors! Bundt cakes are versatile and can be infused with various flavors, such as citrus zest, spices, extracts, or even liqueurs. Just make sure to balance the flavors and not overpower the cake.
By choosing the right batter, you can create a Bundt cake that is not only visually stunning but also delicious and satisfying.
IV. Filling the Bundt Pan
When it comes to filling the Bundt pan with batter, there are a few things to keep in mind:
- Leave Room for Expansion: The batter will rise and expand as it bakes, so it’s important to leave some room at the top of the pan. A good rule of thumb is to fill the pan about three-quarters full. This will prevent the cake from overflowing and ensure a nicely shaped cake.
- Spread the Batter Evenly: Use a spatula or the back of a spoon to spread the batter evenly in the pan. Pay attention to the fluted sides and center tube, making sure the batter reaches all the crevices. This will result in a cake with a consistent texture and shape.
- Tap the Pan: After filling the pan with batter, gently tap it on the countertop a few times. This helps remove any air bubbles and ensures the batter settles evenly in the pan.
By following these tips, you can achieve a perfectly filled Bundt pan and a cake that bakes evenly and beautifully.
V. Baking and Cooling the Cake
Proper baking and cooling are essential steps in the Bundt cake baking process. Here’s what you need to know:
- Follow the Recipe: Always refer to the recipe for the recommended baking time and temperature. Bundt cakes typically require longer baking times than regular cakes due to their larger size and denser texture. However, every oven is different, so keep an eye on the cake and perform the toothpick test to determine if it’s done. Insert a toothpick into the center of the cake—if it comes out clean orwith a few crumbs clinging to it, the cake is done.
- Avoid Opening the Oven Door: While it may be tempting to check on the cake’s progress, try to resist the urge to open the oven door too often. Opening the door can cause fluctuations in temperature, which can affect the cake’s rise and texture. Only open the door when you think the cake is almost done and perform the toothpick test.
- Cool the Cake Properly: Once the cake is done baking, remove it from the oven and let it cool in the pan for about 10-15 minutes. This allows the cake to set and makes it easier to remove from the pan. After the initial cooling period, carefully invert the pan onto a wire rack and gently tap the bottom to release the cake. Let the cake cool completely on the wire rack before adding any glazes or frostings.
Proper baking and cooling ensure that your Bundt cake retains its shape and texture, resulting in a visually appealing and delicious treat.
VI. Adding the Finishing Touches
The final step in creating a perfect Bundt cake is adding the finishing touches. Here are some ideas to take your cake to the next level:
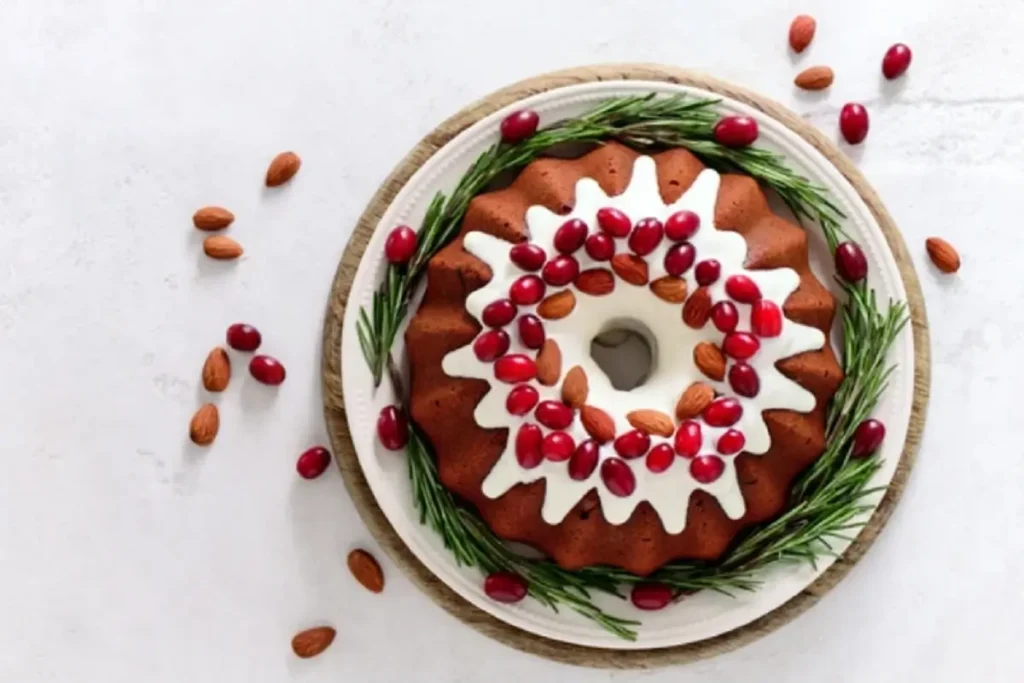
- Glazes and Frostings: Drizzling a glaze or frosting over your Bundt cake not only adds flavor but also enhances its appearance. Opt for a glaze that complements the flavors of the cake, such as a citrus glaze for a lemon Bundt cake or a chocolate ganache for a chocolate Bundt cake. Pour the glaze over the cooled cake, allowing it to drip down the sides for an elegant look.
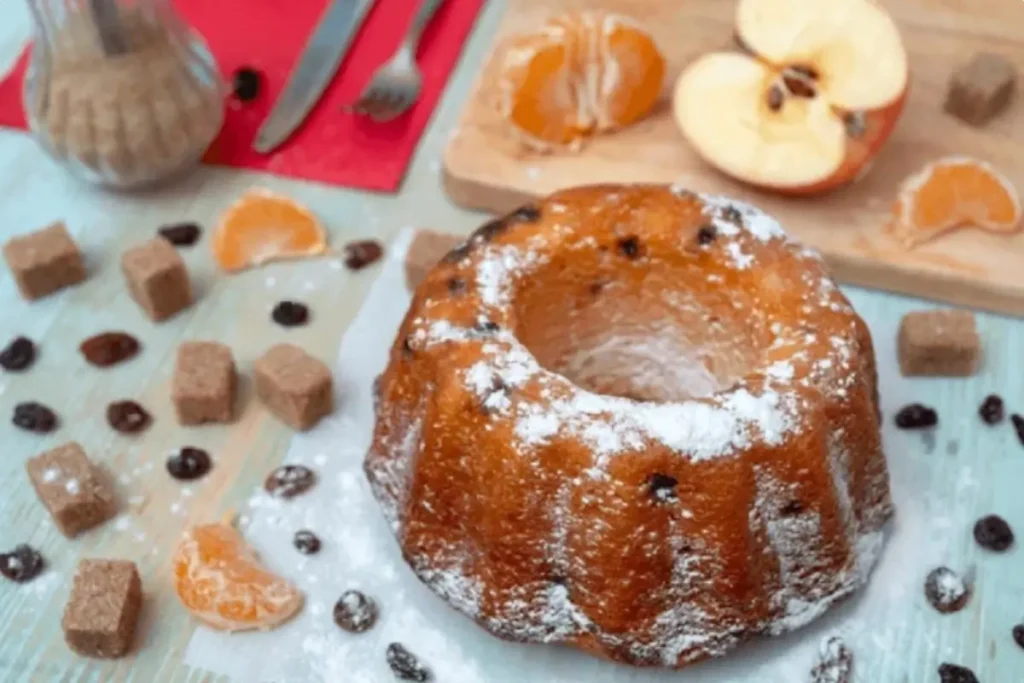
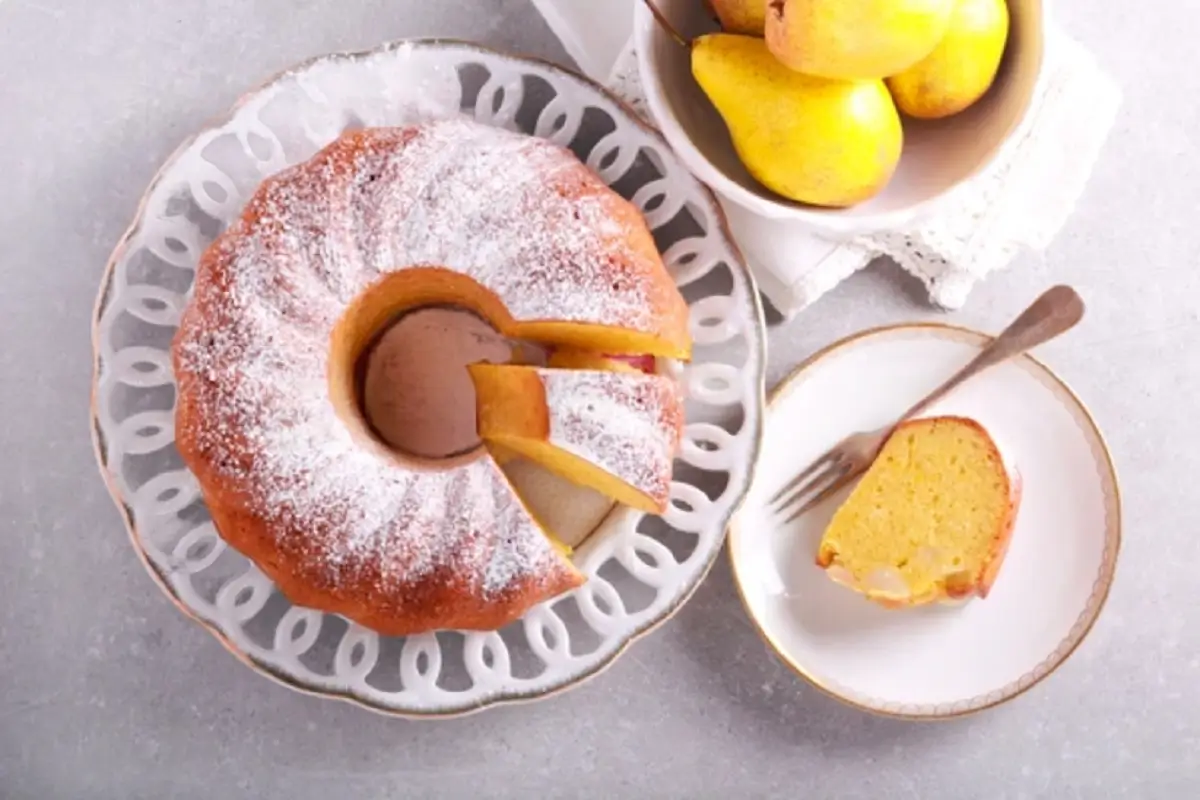
- Dust with Powdered Sugar: A simple yet effective way to decorate a Bundt cake is by dusting it with powdered sugar. Use a fine-mesh sieve or a sifter to evenly sprinkle the sugar over the cake. This adds a touch of elegance and highlights the beautiful shape of the cake.
- Fresh Fruit and Whipped Cream: For a lighter and refreshing option, serve your Bundt cake with fresh fruit and a dollop of whipped cream. Choose fruits that complement the flavors of the cake, such as berries for a vanilla or almond cake, or sliced peaches for a spice cake. The combination of moist cake, juicy fruit, and fluffy cream creates a delightful dessert.
- Garnish with Nuts or Chocolate Shavings: For added texture and visual appeal, consider garnishing your Bundt cake with chopped nuts or chocolate shavings. Sprinkle them over the glaze or frosting, or press them gently into the sides of the cake. This adds a touch of sophistication and makes the cake even more inviting.
Remember, the finishing touches not only enhance the overall presentation of the Bundt cake but also provide additional flavors and textures that will delight your taste buds.
VII. Frequently Asked Questions (FAQ)
- Can I use a regular cake recipe in a Bundt pan?
Yes, you can adapt a regular cake recipe for a Bundt pan. Just make sure to adjust the baking time and temperature accordingly, as Bundt cakes typically require longer baking times. - How do I prevent my Bundt cake from sticking to the pan?
Properly greasing and flouring the pan, as well as chilling it before adding the batter, can help prevent the cake from sticking. Using a non-stick Bundt pan or a silicone Bundt pan liner is also an option. - How can I prevent my Bundt cake from drying out?
To prevent your Bundt cake from drying out, make sure not to overbake it. Follow the recommended baking time and perform the toothpick test to determine if the cake is done. Additionally, you can brush the cake with a simple syrup or soak it in a flavored syrup to add moisture. - Can I freeze a Bundt cake?
Yes, Bundt cakes can be frozen. Once the cake has cooled completely, wrap it tightly in plastic wrap and then in aluminum foil. Place it in an airtight container or freezer bag and freeze for up to three months. Thaw the cake in the refrigerator overnight before serving. - How do I store a Bundt cake?
To store a Bundt cake, place it in an airtight container or cover it tightly with plastic wrap. Store it at room temperature for up to three days. If the cake has a perishable filling or frosting, such as cream cheese or whipped cream, it’s best to refrigerate it.
VIII. Conclusion
Baking a perfect Bundt cake requires attention to detail and a few expert tips and tricks. From preparing the pan to adding the finishing touches, each step plays a crucial role in achieving a visually stunning and delicious cake. By following the guidelines in this article, you can elevate your Bundt cake baking skills and impress your family and friends with your creations. So, go ahead, grab your Bundt pan, and let your creativity shine as you embark on a delightful baking

